
5 things You Didn't Know You Could Do With a Vitamix
My Vitamix and I... we are in a serious relationship. I use him every day. He keeps giving me great things, and doesn't ask for very much in return. It's kind of an ideal relationship, now that I think about it!
Everyone knows you can make smoothies with a Vitamix. But did you know you could do so much more? Here are 5 things that I have learned to make with my Vitamix through owning one for a few years. I own the standard Vitamix two-speed Turbo-Blend. It's great, and I highly recommend it. Buying a Vitamix was the first key decision in my health journey. If you don't already have one, this post may sway you to make the purchase.
1) Juice
Everyone knows you can make a smoothie with a Vitamix. In fact, I'm pretty sure that is the #1 reason why people buy the thing. However, over the course of my long term relationship with my Vitamix, I've used it for making juices, too. I don't own a juicer for a few reasons. They are expensive, take up a lot of space, and are really hard to clean. I would much rather spend my money on making smoothies in my vitamix, where I also get to keep all that good fiber intact!
You will need:
- 1 knob ginger
- juice of 1/2 lemon
- 4 cups of romaine
- 1/2 cucumber
- 1 apple
- 2 cups of kale
- 1/2 cup pineapple
- 2 cups of coconut water
- Strainer (mesh works just great. So does a cheese cloth)
Directions:
Pour all ingredients into vitamix. Blend on high for 1 minute.
Strain mixture into a glass cup. Drink up!
2) Coconut Butter
Coconut butter is so good, and is so easy to make. I love adding it to my smoothies (especially blueberry almond butter smoothies...hmmmmmmm!) but it can get really expensive. A raw vegan organic jar of coconut butter runs around $16.00. That's a lot! Instead, make it yourself using your vitamix!
You will need:
- 2 cups shredded raw organic coconut
- glass mason jar for storage
Directions:
Pour shredded coconut into Vitamix. Use the included tamper to push shreds down and into the blade. Blend until a butter is formed, usually about 30 seconds. Store in mason jar in fridge for up to 1 month. Add to your smoothies, spread on toast, or eat straight out of the jar!
3) Flavored Nut Milks
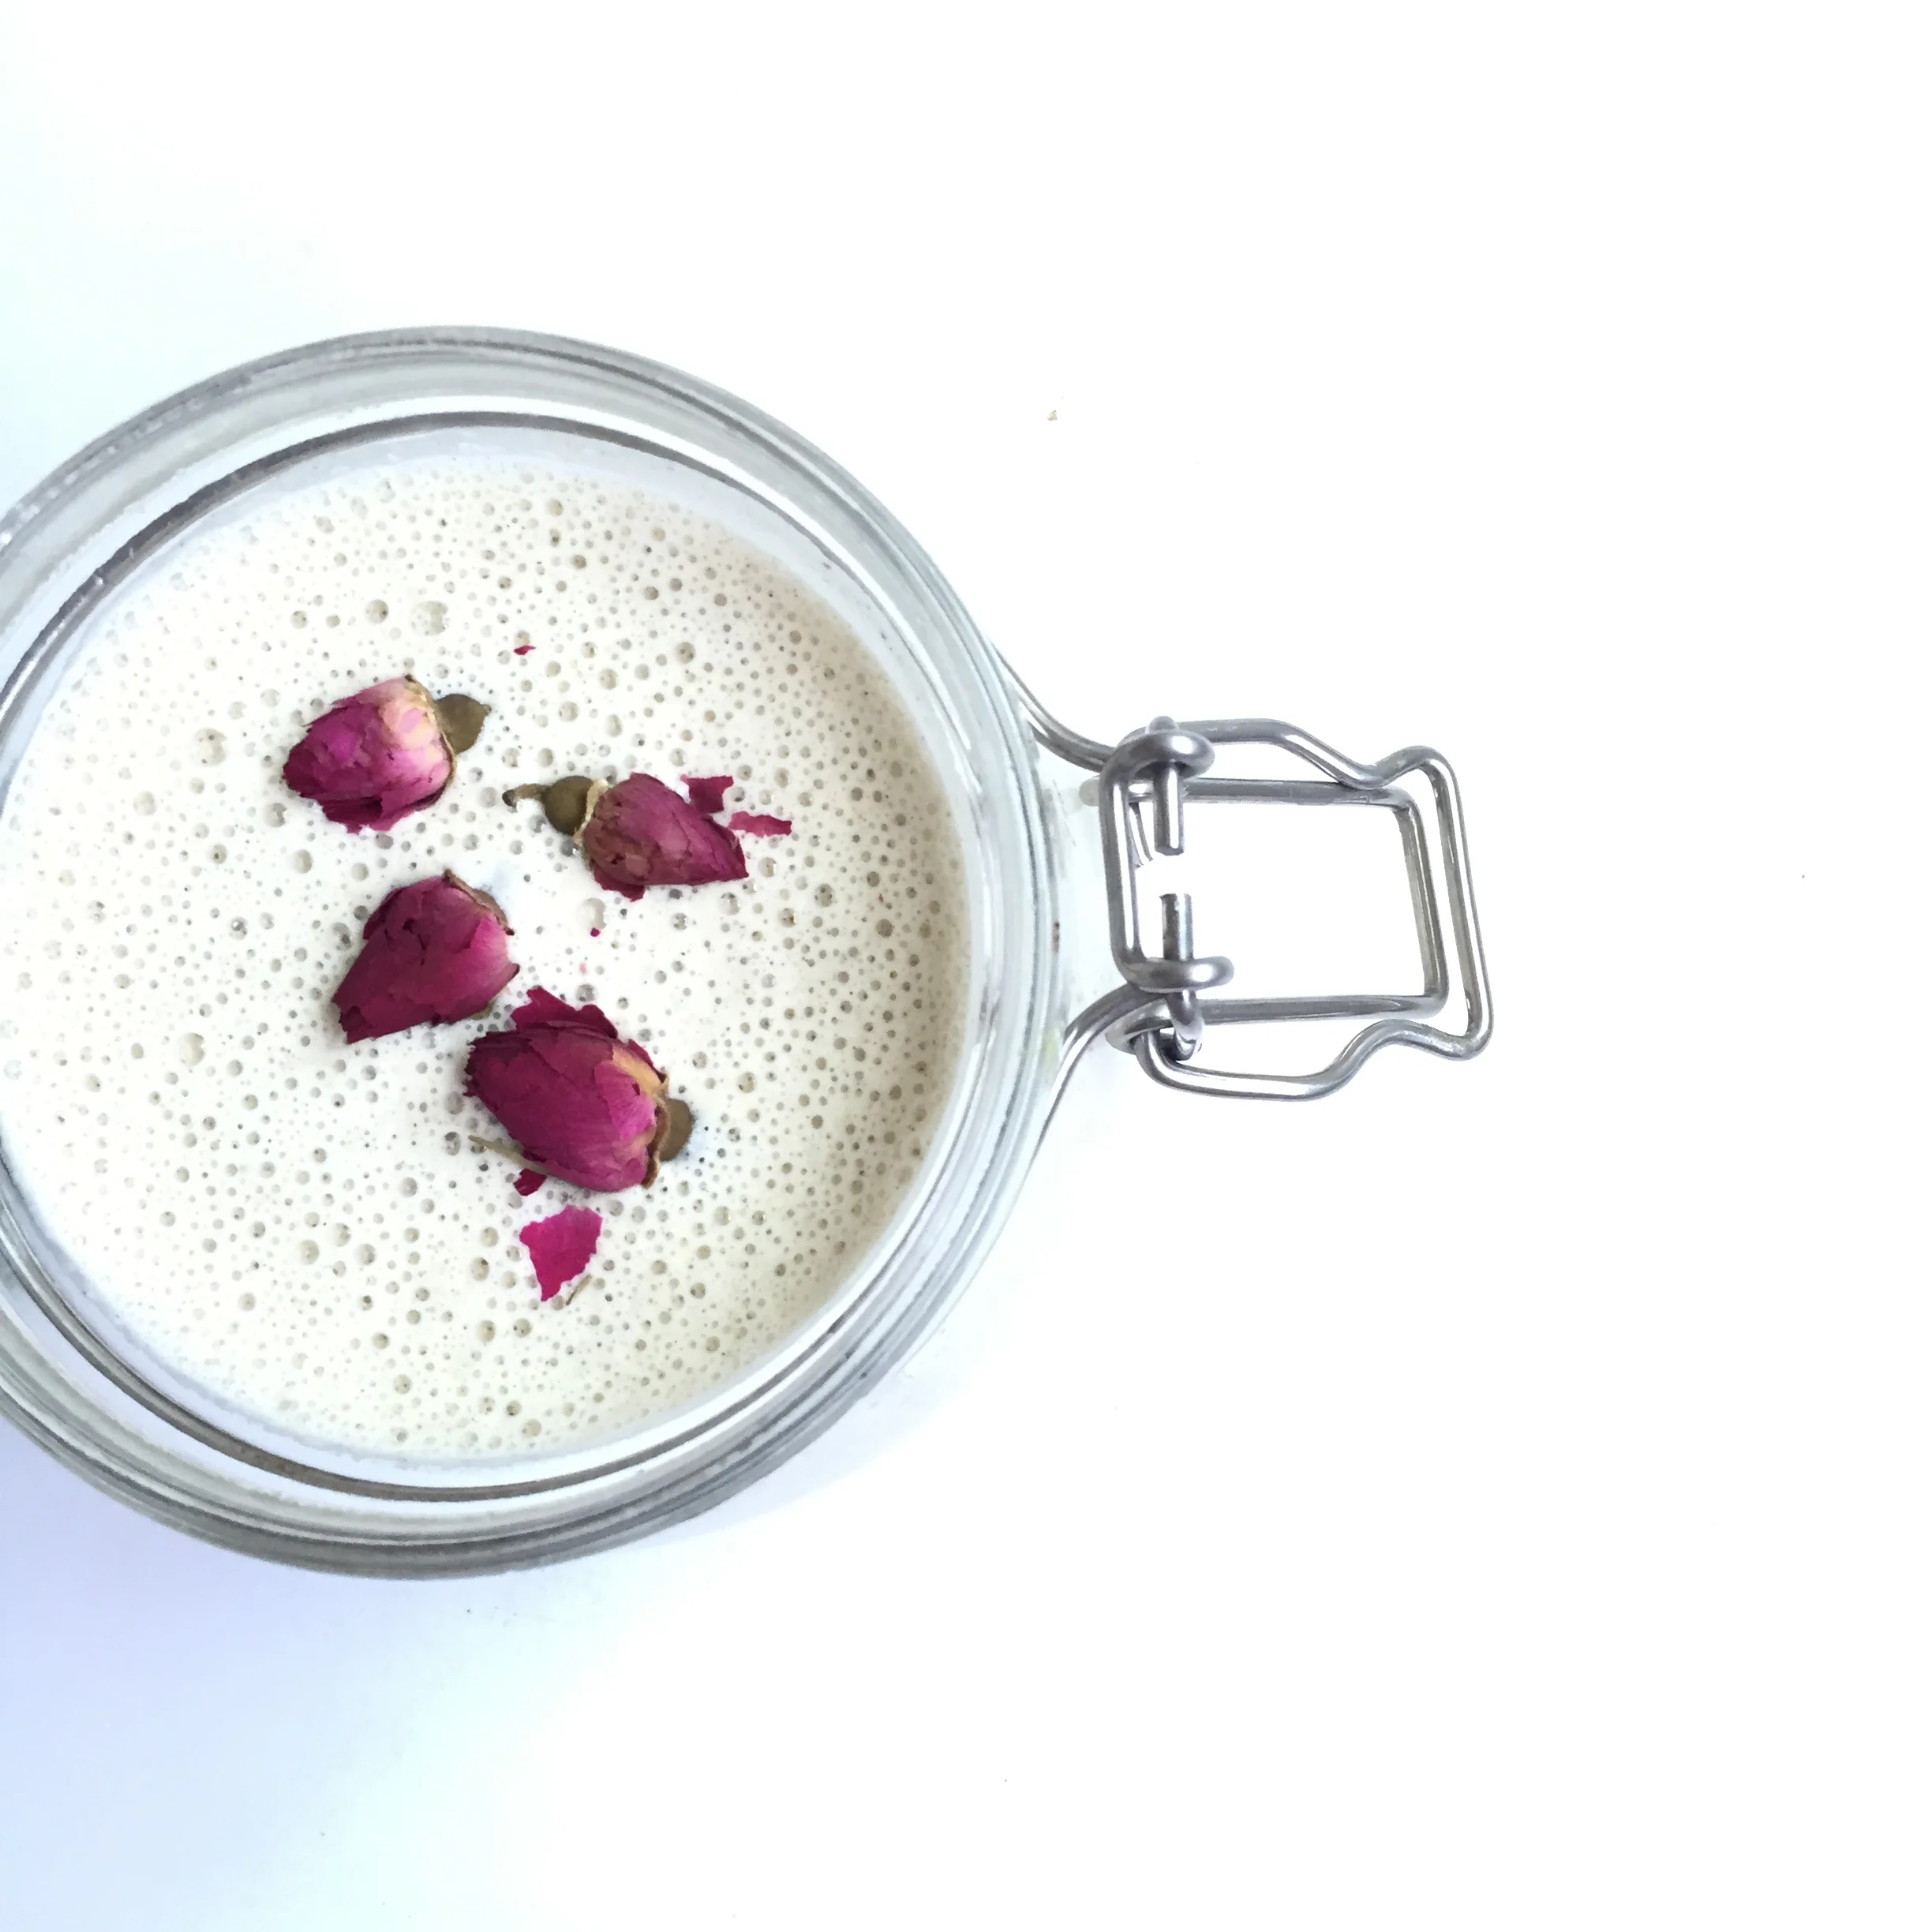
Rose Hemp Mylk
Nut milks are a delicious, vibrant, and holy thing. There's nothing like making your own, too. This way, you save money on packaging, and you also get to be in charge of what goes inside. You can get so creative here- try adding things like maca, cacao, spirulina, rosewater, turmeric, strawberries, or more! You can't really go wrong with flavors... and you will never get bored.
Rose Hemp Mylk
You will need:
- 1 cup hemp seeds
- 3 medjool dates, pitted
- 1 tsp Himalayan Sea Salt
- 3 cups rosewater (To make, soak 1 cup rose buds (find online or at any local tea shop!) in the sun for 5 hours. Strain, and you've got zero waste, energy-free rosewater!)
Blend all ingredients on high for 3 minutes. No need to strain this one, keep all that fiber- it's good for you!
4) Iced Almond Milk Lattes
I love iced almond milk lattes. They are my summertime kryptonite. However, I can't help but feel a huge pang of regret every time I spend $6.00 on one. Plus, I hate lugging around that plastic cup coffee shops still use. Solution? I learned how to make my own!
You will need:
- 1 cup concentrated cold brew coffee
- 1/2 cup almond milk (I love Califia Farms or Trader Joe's brand. Or...use your own!)
- 2 pitted medjool dates
- 3 ice cubes
Blend the coffee, milk, and dates together in the blender on low for 30 seconds. Pour over ice, add a straw, and additional sweetener or vanilla bean if desired. Best latte ever!
5) Banana Ice Cream

Banana Ice Cream, also known as #nanaicecream on instagram, is a vegan phenomenon. You'll see big, overflowing bowls of creamy, luscious goodness, with a very similar look and texture to that of soft serve or frozen yogurt.
It's so creamy and nutritious, you won't believe the only thing you are eating are bananas.
Banana ice cream is my favorite dessert. I sometimes have it for breakfast but most of the time it's too sweet for me to handle so early in the AM. Banana ice-cream is very easy to make, you just must make sure you prep for it a few days in advance.
TIPS:
-Always keep 5-6 frozen bananas in your freezer at all times!
-Peel and freeze your bananas when they are brown and spotty! Yellow bananas are not ripe. If they crunch when you peel them, then they are too starchy and it will make you constipated.
-This recipe is for basic banana ice cream. Please feel free to add any other flavor you might crave such as chocolate & raspberry, cherry & peanut butter, blackberry &mint, or coffee. It's super versatile!
You will need:
- 3 bananas, FROZEN when brown & spotted! (freeze overnight for best results)
- 4 medjool dates
- 2 tbsp almond milk
Cut your bananas into 2" pieces and put into a vitamix or food processor. add dates (pit them first!) and almond milk. Blend for 2 minutes and continuously stop the blender to push down the food, so you can make sure it's getting all of the banana pieces. Food processors work way better for banana ice cream I have come to find. Add the dates. Then the almond milk. Sometimes, almond milk isn't even necessary!
Blend until a smooth, creamy texture is achieved like in the photo above. Scoop into a bowl and serve with fresh fruit, coconut flakes, cacao nibs, date syrup and granola! No more late night trips to sixteen candles.